In a time, when everyone takes snapshots with their phones right away and then shares them with their followers on Instagram and Facebook, it is becoming increasingly difficult to stand out from the crowd with good pictures. But even photos for your very own private album, which are never supposed to appear any where in social media, are usually great memories. The more accurately they reflect the situation you want to remember, the better. Not only do you need a good camera that you are also able to handle, but you should at least have a basic knowledge of lighting and composition. I started from scratch a few years ago and since then I've been improving my cameras and my photographic techniques and I'd like to give you some tips for your travel photography.
Would you like to know what equipment I use to take pictures on my travels? Then first read my blog about the best camera equipment on travels..
1. Travel photography: the basics
The most important thing is that you get a good camera and learn how to use it. You can also take pictures with your smartphone, but the result will never replace a good camera. So if you want to get really good pictures of a place or a journey, you should get a good DSLR or system camera and preferably do a small test shoot beforehand. The auto mode will give you good results in many cases, but never the best.
However, make sure that neither the camera nor the rest of the equipment are too heavy or unwieldy and that you don't carry too much around with you. Travel photography should mainly be fun for you and not hinder you from your actual journey.
2. Go with the light
The best camera will be of little use to you if the lighting conditions are not right. The hard shadows during the midday sun, you will never be able to remove with any editing program later. Therefore, it is better to use the more beautiful and softer light of dawn or dusk. Another advantage is, that there are fewer people around during those times, so you also avoid too many people in your pictures.

3. Open aperture
The wider the lens of your camera can be opened, the more light can enter and the faster you can set the shutter speed without getting your picture too dark. So always try to work with aperture and shutter speed first before you increase the ISO value of your camera. The lower the number before the f, the more you can open the lense. While zoom lenses usually only open up to 2.8 (very expensive lenses), prime lenses open up to 1.0, giving you a depth of field, i.e. a sharp subject with a blurred background (if you like that effect).
4. Prefer manual settings
Better not trust the autofocus unless you need to be super quick. It usually only focuses on the center of your picture and not exactly on what you want to focus on. I also prefer to set the settings for aperture and shutter speed manually to adjust them to my exact needs.
5. Use a tripod
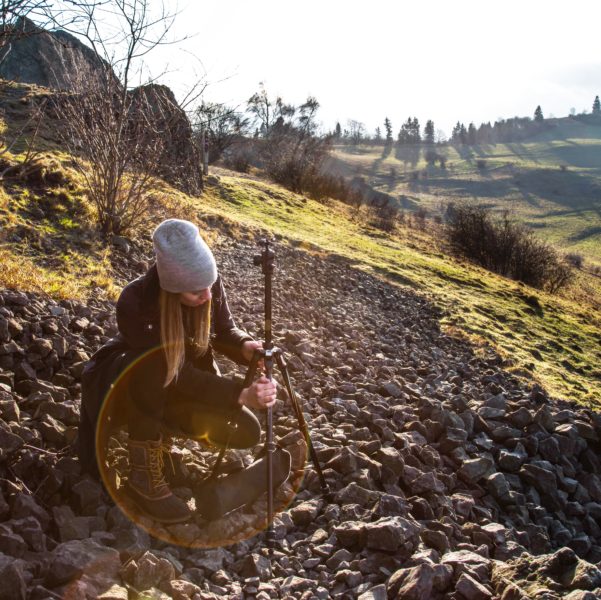
As soon as the lighting conditions are no longer optimal, you should use a tripod. You have to reduce the shutter speed a lot to get enough light and without a tripod it is almost impossible that the picture does not blur. Don't even try to solve the problem by using a higher ISO. You will regret it as soon as you need the picture in good resolution and it is completely noisy.

6. Try what works best for you
I admit that since I had a child, travel photography happens like this: "Oh, nice. I'll quickly shoot three pictures in three seconds and hope one of them turns out well." I'll find out only in the evening, when it's too late anyway, because there's no time to check.
Theoretically, however, you should try as much as possible and photograph a certain motif from different angles and perspectives as often as possible. Test what it looks like from further away, from below or above - this way you will quickly get a feeling for what works best in which situation and you will have a nice selection of pictures afterwards.
7. Don't be lazy
I myself am often tempted to simply pull the smartphone out of my pocket and take ten different pictures in the time it would take me just to switch on my camera. But I usually change my mind when I think about the result. Take the time to find the right position, ask other people if they would move a little to the side. It only takes a few minutes more and it can make the difference between a mediocre and a spectacular photo.
8. No flash, no zoom
These were two of the first rules I had to learn when I started taking pictures. A picture never looks good with a flash. Never. No matter how dark it is. On the contrary - the darker the surroundings, the worse the flash makes the picture look. So try to work with tripod and exposure if possible.
Same with the zoom. Don't use it. That's why I am a big fan of prime lenses. You should always remember that zooming does not have the same effect as getting closer to an object. The more you zoom, in whatever direction, the more the object in focus becomes distorted and the background changes. The most lifelike reproduction you will get with a full-frame camera with a 50mm prime lens.
9. Have fun
There are days when I neither feel like taking pictures nor being in the picture myself, because I just want to enjoy the moment. This is sometimes annoying afterwards, especially if the surroundings or the atmosphere were really nice, but then I don't do it. You can see it in the pictures afterwards anyway, if they were shot half-heartedly. Even if travel photography is mainly about capturing nice memories - some moments can only be stored in your head.
10. Respect
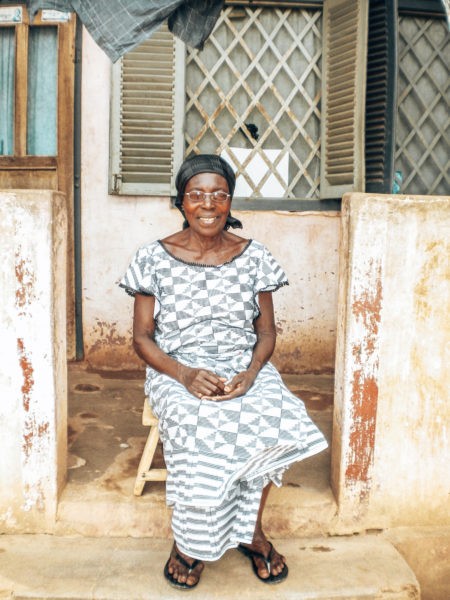
When it comes to travel photography, it is very tempting to photograph the people of a country in traditional clothing or during typical work. But never photograph another person unasked. Apart from the fact that the law does not allow you to publish these photos anyway - you do not want to end up as a portrait on other people's cameras or social media accounts either. If you ask politely instead, whether you are allowed to take a picture, most people immediately agree and are happy about the interest. This way, you often even learn something about the history of your counterpart.

11. Edit
The purpose of image editing should not be to make the image look as if it has been edited, but to make it look exactly like what you saw in reality. Your camera changes colors and contrasts and you have to restore them. To achieve certain effects, you can of course overdo it a bit, but since I use my photos more as travel inspiration, I like to keep them as natural as possible. For this I usually use the Lightroom App on my phone. I don't think any of my pictures even made it to the computer before I published it.
12. There are no rules
Perhaps your motif will attract more attention if you place it in golden ratio but maybe that is not what you want in the moment. Sometimes an overexposed image, on the other hand, has a very special appeal. Breaking the official rules of photography isn't always bad. However, there are certain things that never look good on pictures. Cut off feet or cuts directly at knees or elbows and a sloping horizon are just a few examples. Otherwise, don't let yourself be pinned down to a certain standard and do what works best for you.

